
-
-
Make sure the machine is on a solid flat surface.
-
Prepare 4 x Universal-L-Brackets with a M5-Button-Head-Bolt-8mm through each of the two holes closest to the corner and a M5-Drop-In-Tee-Nut slightly threaded onto it.
-
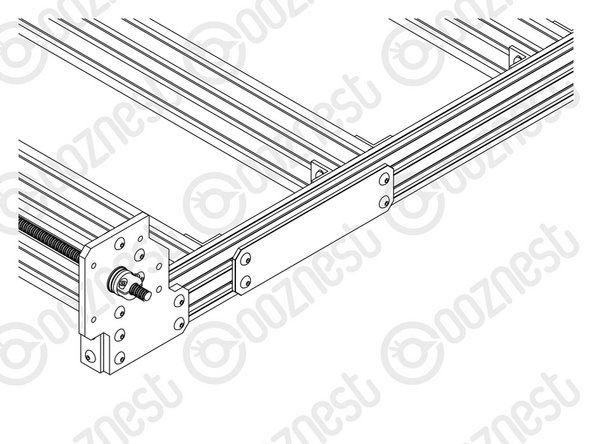
Attach a Universal-L-Bracket to the inside of Extrusion-A at the four positions marked on Image 2.
-
Make sure the M5-Drop-In-Tee-Nuts are engaged with the slots on Extrusion-A.
-
The Universal-L-Brackets can now be secured to your table using 8 x Button-Head-Screws.
-
-
-
Attached the Fixed End end of Drag-Chain-Y to your table using 3 x Button-Head-Screws
-
It should be inline with the back of the machine.
-
Drag-Chain-Y should run perfectly parallel to the Y-Axis of the machine.
-
-
-
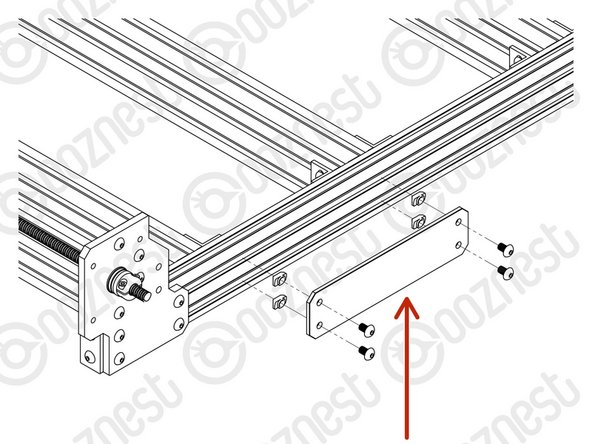
Attach the ID-Plate to the front Extrusion-A on the left side using 4 x M5-Button-Head-Bolt-8mm and 4 x M5-Drop-In-Tee-Nuts.
-
-
-
Adding the ID-Plate was satisfying.
-
Guide Complete - Proceed to 2. Testing Your WorkBee
-


Thanks for following the guide. Any issues, please contact us!
Thanks for following the guide. Any issues, please contact us!
Cancel: I did not complete this guide.
41 other people completed this guide.
