
-
-
The manual is broken down into sections: Mechanical Assembly, Electronics Assembly, Connecting and Testing.
-
Connecting is broken into two sub sections - Connect Via Wifi and Connect Via Ethernet.
-
Only follow the sub section matching the connectivity of your machine.
-
For the Ethernet version, you do not need to connect via USB.
-
Within each section follow through the guides in numerical order.
-
-
-
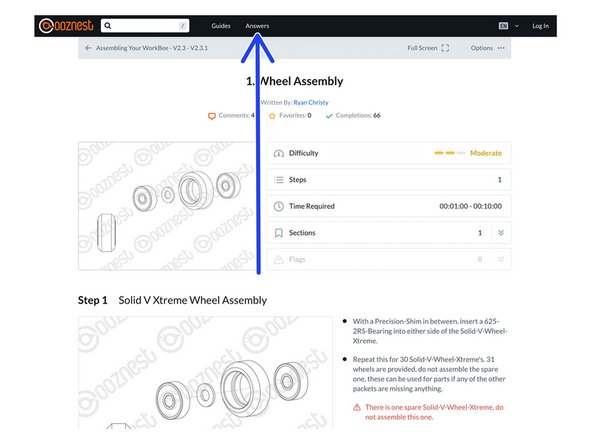
Each Guide is broken down into a number of Steps.
-
Each Step is broken down into a number of coloured Points.
-
Complete all Points in each Step, and all Steps in each Guide to complete the Guide.
-
Some Steps/Points may not apply to your version. It will be clearly indicated to which version they apply.
-
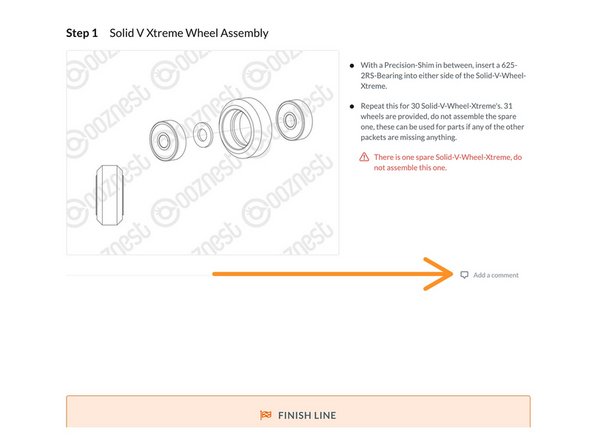
Each Step will have one or more image.
-
Click on the image to view the high resolution version.
-
Try it now!
-
Go to 'Options' > 'Download PDF' to get a printable version of each guide.
-
-
-
1.5, 2.0, 2.5, 3.0, 4.0, 5.0mm Hex keys
-
5.5, 7.0, 8.0mm Spanners
-
Selection of Philips and Flathead Screwdrivers. Pozi #1 & Pozi #2 required. Insulated versions should be used on electronics
-
Engineers Square
-
Soft mallet or Rubber hammer
-
Tweezers and Wire cutters
-
A bearing lubricant such as SuperLube Grease
-
Do not use power tools to assemble the WorkBee Z1+
The spoilerboard information is too late in the manual, if you don't supply the product with the appropriate spoilerboard then you need to warn the user of this earlier on in the manual. I have reached the end of the instructions to find out I need to purchase this myself. Now there is a delay as I have to wait for this material you don't supply to arrive. This would be very helpful at the start for novice users of the machinery.
Liam Bembridge - Resolved on Release Reply
Hi Emil,
Thanks for your comment, we can look to add this.
Robert
Still in the intro you write which hex are applicable in the build. So most of the time it is #3, sometime smaller (1.5 I think) and then at some points larger. Maybe only if you get confused as I were =)
Emil -
-
-
-
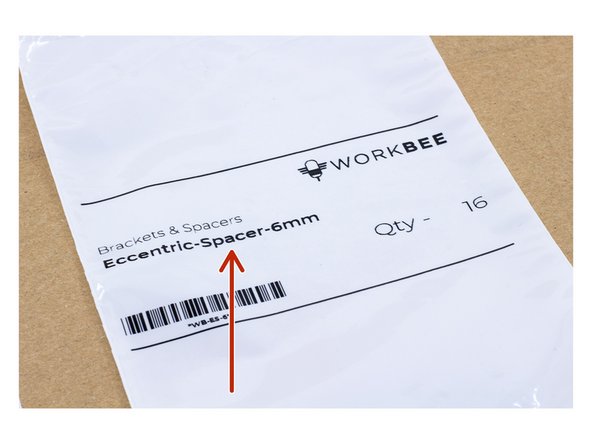
Most parts of the kit are labelled with the part name and quantity provided.
-
The name on the label will match the name used in the guides.
-
For most small parts we will provide spares.
-
The quantity on the label will include any spares.
-
To quickly find which parts are in which box Download and print our Box Cheat Sheet
-
-
-
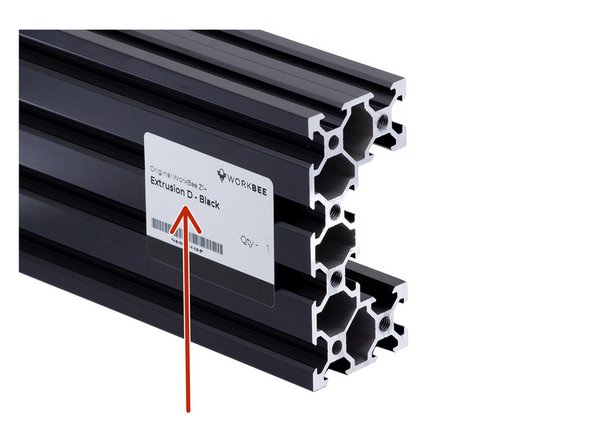
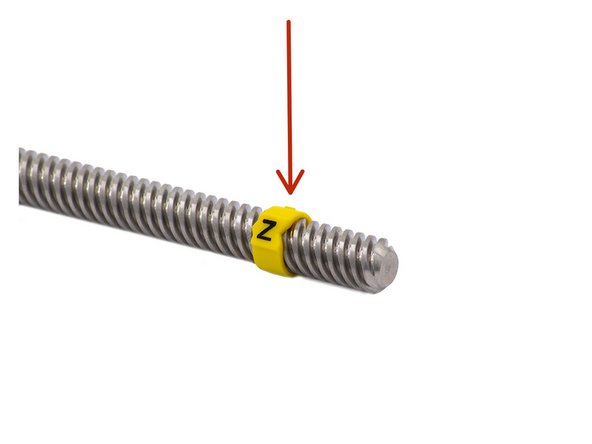
Each Extrusion or Lead-Screw is assigned a letter.
-
In the Guide these will be referred to as Extrusion-A, Extrusion-B, Lead-Screw-Z etc
-
Extrusion-F and Lead-Screw-Y are matched pairs. Do not mix these with other Extrusions or Lead-Screws
-
We recommend that the labels are not removed until the build is complete, as the guides will refer to these letters throughout.
-
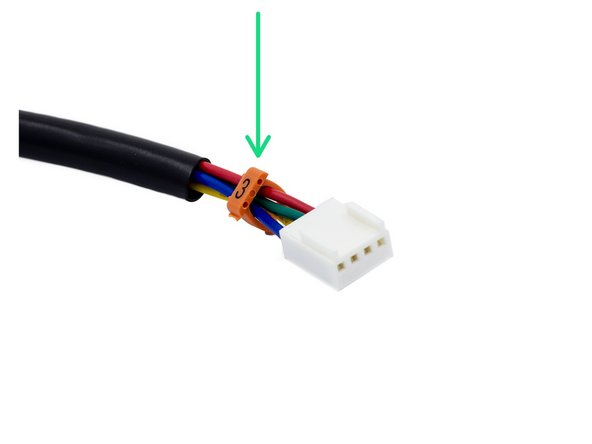
The wires coming from each Motor or Limit Switch will be assigned a Number & Colour based on the Axis they are used for.
-
In the guides, these will be referred to as Limit-Switch-0, Motor-Wire-3, Motor-Wire-4 etc
-
Download and print our Motor Wire and Limit Switch Cheat Sheet
-
-
-
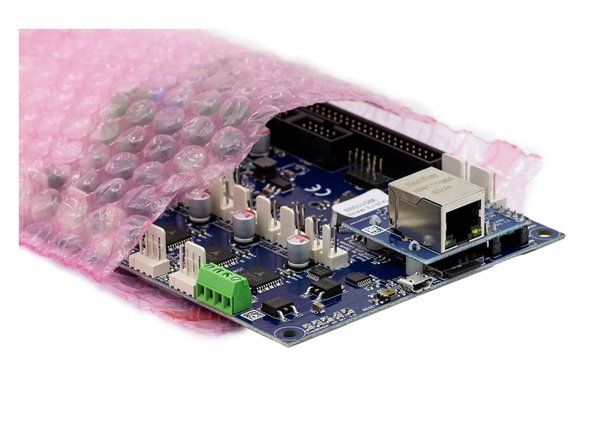
Electronic Boards will come in an ESD Bag.
-
Do not take the Electronic boards out of the bag until needed.
-
Touch something metal before touching the board to discharge any static electricity.
-
Never touch the components on the board. Always handle the board via the edges.
-
Be extra cautious when you are around static materials, such as carpets and wool.
-
-
-
If you are using a USB to Ethernet adaptor it must have crossover detection.
-
Not all USB to Ethernet adaptors have this feature. So double check your model.
-
We sell a tested USB to Ethernet Adaptor on our Website
-
-
-
Read each guide from start to finish before beginning. This will give you an idea of the direction you are heading.
-
Don't just look at the pictures. The written instructions are as concise and cleary written as possible.
-
Follow these guides only! Do not follow other WorkBee build guides or YouTube videos. Do not even follow Ooznest's videos. They may not apply to your version.
-
Everything should go together easily. If something is requiring a lot of force. Take a breather and read the guides again.
-
M5-Tee-Nuts have to be inserted from the end of the extrusion. If you forget to insert one don't panic!
-
Spare M5-Drop-In-Tee-Nuts are provided. Simply drop them in the slot, engage the bolt, and they will bite into the underside of the slot.
-
Don't Rush! Building the WorkBee is as much fun as using it. The quicker you build it the less fun you will have :)
-
You are ready to begin! Start with 1. Wheel Assembly
-


Cancel: I did not complete this guide.
85 other people completed this guide.

4 Comments
Hi I am considering purchasing one of your cnc machines in the near future.I already have a small Dewalt router would this fit to your router mount okay ?…..thanks.
Geoffrey Wilson - Resolved on Release Reply
Hi Geoffrey,
Great to hear you are interested in our machine!
What model is it? If it is a D26200, then it will fit.
Thanks!
Robert -
1mm hex key? The smallest metric size I believe is 1.5mm, then there some weird sizes like 1.3 and 0.9. I have searched my usual tool suppliers but none have 1mm hex keys. So I hope you have some suggestion as to where I could purchase this before I start my build.
Xander Langschmidt - Resolved on Release Reply
Hello Xander, Thanks for spotting this!
I have updated the guide it should be 1.5mm the smallest needed for the flexible coupler grub screws.